Mailing artwork is an intricate and sometimes complicated process, so it is very important to do your research and consider essential factors that might affect shipping. The most important thing is to make sure that the piece arrives at its destination in the same condition it was in before leaving the studio.
Factors to consider when mailing artwork
Here are the key factors to consider when mailing artwork:
- Size and Weight – How heavy an artwork is will be a determining factor of how it must be shipped. Bigger artworks will require bigger custom crates and will probably be shipped via freight, while smaller pieces can be shipped in a box.
- Insurance – Purchase insurance to protect the piece from loss or damage. When choosing insurance, think about the value of the artwork and choose the most appropriate one from the list.
- Fragility – You must also consider the materials used for the artwork before shipping it. For example, a painting on canvas or wood is more durable than, say, a piece made of glass.
- Climate and Weather Conditions – Sunlight, rain, and extreme weather conditions may affect the quality of the artwork upon shipment. So it is important to select a shipping method that can protect the piece from these conditions.
- Customs Regulations – If you are doing international shipping, you need to educate yourself about the rules and regulations of different countries regarding export/import. Once done, evaluate, make a list, and only cater to the countries where you can ship successfully.
- Shipping details – Lastly, before shipping the artwork, you must make sure that all the labels on the package are correct. All necessary information must be there. If there are specific handling instructions, communicate those to the courier and include them in your label as well.
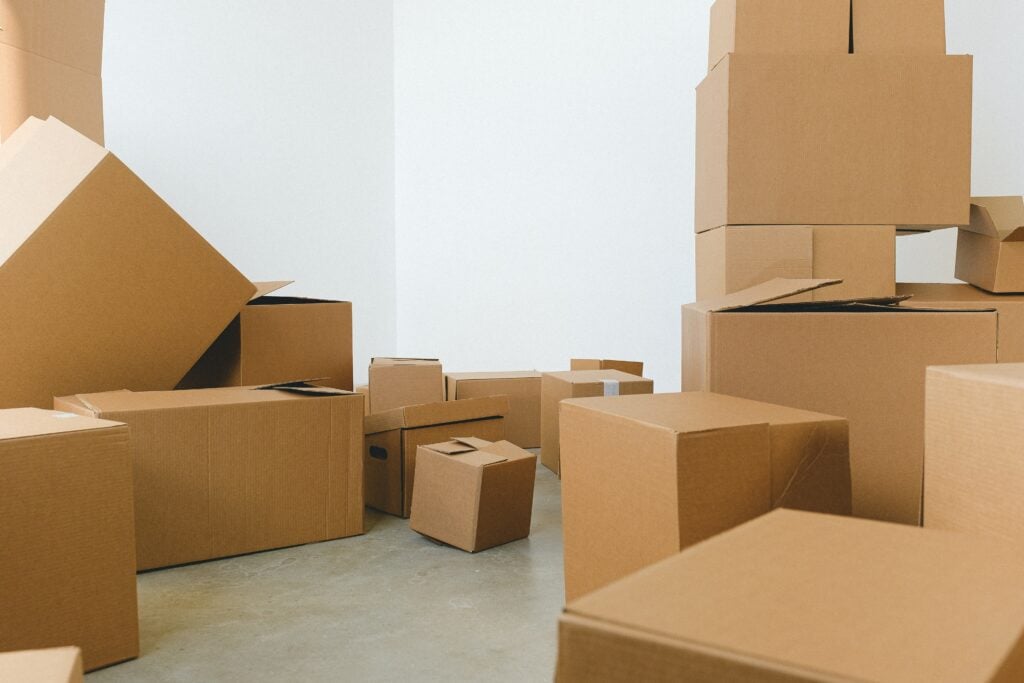
Packing and Preparing your artwork for shipment
Now that you have considered the important factors before shipping your artwork, it’s time to prepare and pack the precious piece for shipment. It is very important that your materials for shipping are accurate and complete before packing the artwork, as this ensures that the package is safe for transit.

Here is the simple step-by-step process you can follow:
- Step 1: Gather your materials – You may want to segregate a list of items solely dedicated to packing the artwork. This may include a pair of scissors, gloves, measuring tape or ruler, acid-free tissue papers, bubble wrap, packing tape, foam boards, shipping boxes, cardboard corners, etc.
- Step 2: Sanitize the artwork – This part is crucial because you cannot just use any cleaning supplies or materials to sanitize the artwork. As the creator, you know the materials used in the artwork and which cleaning solution will work best. You may use a lint-free cloth to very carefully clean the piece and remove dust or debris.
- Step 3: Use acid-free tissue paper – Acid-free tissue papers are ph neutral, so they are versatile and lightweight and do not yellow or break over time. Protect and cover the artwork with several layers of acid-free tissue paper to protect it from scratches.
- Step 4: Use protective wrapping – You want to protect the artwork by wrapping it with multiple layers of bubble wrap and then securing it with tape.
- Step 5: Sandwich the artwork using cardboard or foam board – To protect the artwork even further, connect two pieces of cardboard or foam board together like a sandwich and place the artwork in the middle.
- Step 6: Place the artwork in a shipping box or crate – Opt for sturdy shipping boxes that are larger than the piece you will pack. Place the artwork inside the box—there will be empty spaces or gaps for sure. You can fill these spaces with crumpled papers, bubble wrap, or paper/air cushions to prevent the artwork from moving during transit.
- Step 7: Put the label on the box – This is an important step where you want to make sure that complete information is indicated. Include the recipient’s address, return address, and any other specific instructions for handling the package.
- Step 8: Consider getting insurance for the artwork – Insurance is your coverage against the unexpected. You may insure it for its full value so you have protection against loss or damage.
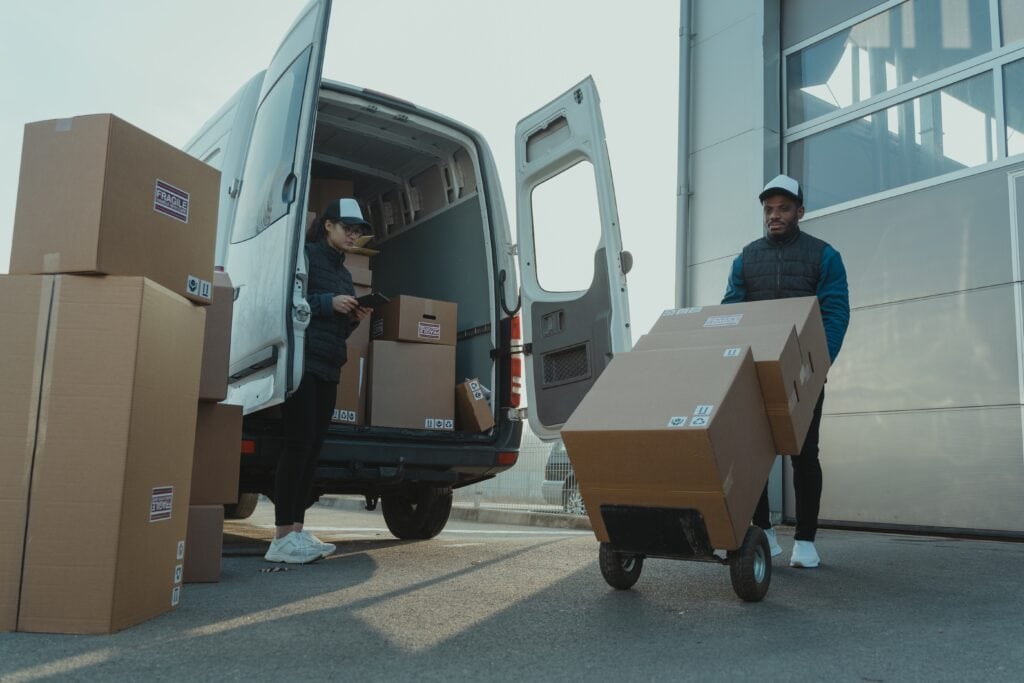
- Step 9: Ship the artwork – The last step is, of course, to ship the artwork. Educate yourself and choose a respectable courier that specializes in shipping artwork. You also want to get the tracking details and track the shipment until it arrives at the destination.
How to choose a courier for your artwork
The courier’s performance will affect not only you but your buyer, so it is essential to pick a courier that could make your and your customer’s experience worthwhile.
When choosing a courier for art, there are important factors to think about and consider to make sure that your artwork is safely transported and that you have peace of mind.
When conducting your research, here are some tips on how to select a suitable courier for your art:
- Check the courier’s experience and expertise in handling and shipping artwork. You may want to find out if they are experts in shipping fragile and valuable pieces.
- Find out if the courier offers custom or specialized services for artwork, such as insurance coverage, types of vehicles, and temperature-controlled vehicle.
- You also want to research the courier’s reputation via online reviews. The feedback you should be looking for is about handling artwork or fragile items. Also, it is a plus if they have experience handling packages for galleries, exhibits, artist clients or any art-related events.
- Choose a courier that has a reputation for being responsive and easy to communicate with. It will surely be a hassle on your end if the courier is unresponsive or has poor communication strategies.
- Look at their website and see the tracking system. You want a courier with a system that is easy to follow and understand. As the seller, you want to track the item until it reaches its destination, so it is important that you have visibility on tracking and monitoring updates.
- Compare fees between couriers. Select the one that is within your budget but still offers the best value for money. Consider additional fees for customized services, insurance, etc.
- If you are going to ship internationally, choose a courier that has experience with exporting goods, has knowledge about customs regulations, and knows their way with international policies regarding the shipment of artwork.
How to pack a painting
As a bonus, we will also give you some tips on how to ship a painting. The process is similar to how you ship any other type of artwork, but it requires more attention and care.

Packing Unframed Paintings
One way you can easily pack unframed paintings is in a tube.
- Step 1: Prepare your materials. Gather a sturdy tube that is larger than the size of the painting, acid-free paper, packing tape, and labeller.
- Step 2: Wrap the painting. Very carefully roll the painting with the painted side facing inwards, then use your acid-free paper to protect the exterior of the painting.
- Step 3: Slide your painting into the tube while making sure it is centered and has enough space on the tube to add some extra padding.
- Step 4: Add fillers to the sides of the tube to ensure that the painting does not move during transit. You may use crumpled paper, air cushions, or any other fillers that will not bleed into the painting.
- Step 5: Seal the tube properly, then add a label that says the package is fragile and must be handled with care.
Packing Framed Paintings
Packing and shipping framed paintings require more time and concentration than when you’re packing unframed pieces. Here are simple steps on how it’s usually done:
- Step 1: Prepare your workspace and gather the materials you will need. Some of the basic items you will use are gloves, pair of scissors or cutter, measuring tape, packing and clear tape.
- Step 2: Since you will be handling a fragile material, make sure that there are no loose sharp materials nearby that can damage the artwork. Remove any accessories you have on your hand as an extra precautionary measure.
- Step 3: Double-check the condition of the artwork and take pictures of it so you have proof it was packed in good condition. You will also need to get the measurements of the artwork to measure it against the box where it will be shipped in.
- Step 4: Wrap the paintings using acid-free paper. For paintings with acrylic glazing, you will need to use acid-free paper to cover the front. If you are packing a painting with glass glazing, put glass tape on the glass first before covering it with acid-free wrapping.
- Step 5: For additional protection, you may cover the artwork with bubble wrap and then put cardboard corners.
- Step 6: Place the painting in a box or crate and make sure it is placed securely. Any gaps in the box should be filled with air cushions, etc., to ensure safe transport.
- Step 7: Lastly, seal the box and label it with “fragile” and “handle with care”.
We know how worrying it is to ship something very valuable, so we hope this article helps you. There are indeed a lot of ways you can do to make sure you are able to ship your artwork securely. Remember to take your time to do your research to ensure you pack your artwork properly and you pick the right courier for your art business.